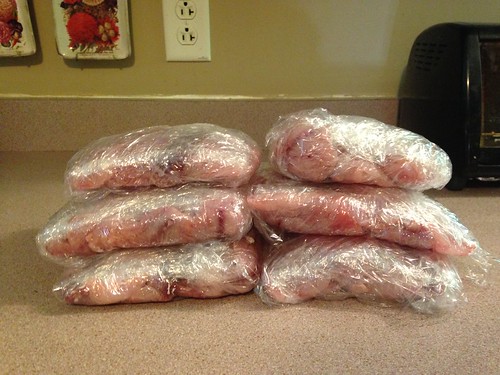
It’s always fun when your boys come home from a deep sea fishing excursion at 2 in the morning and plop down two enormous bags of their catches on the counter! I kid you not, friends. Monday Jake and Noah went fishing off the coast of Niantic, CT with their Boy Scout troop and, well… I guess it was a good day for fishing!
I had never really heard of Porgy before, but then again I don’t cook a lot of fish at home, so I don’t venture further than cod, salmon, shrimp, and haddock. But, after dividing up 6 dinners’ worth of Porgy (nearly 8 lbs), I expect that I will soon be an expert on its preparation!
Of course we had for dinner last night. It’s not often we have fresh-off-the-boat seafood, so I was curious to try it. First, I looked up the fish and was relieved to learn it’s a mild, delicate fish. Some people compare it to Red Snapper. I’ve never tried that, so I can’t agree or disagree.
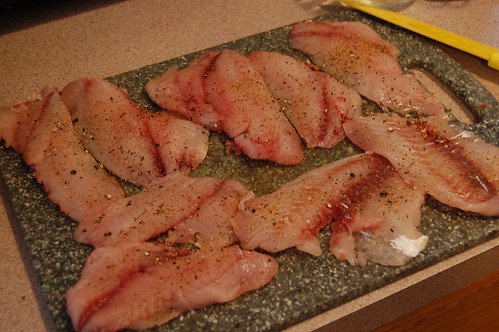
The fish do have a LOT of little bones, even though they were filleted at the dock. Luckily they aren’t too hard to pick out and we got most of them.
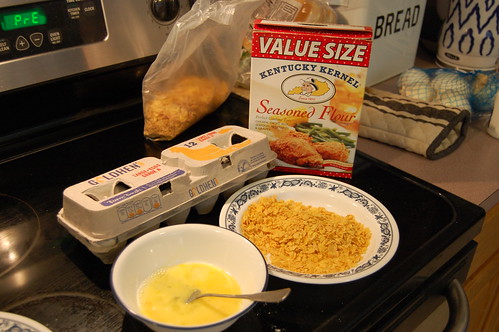
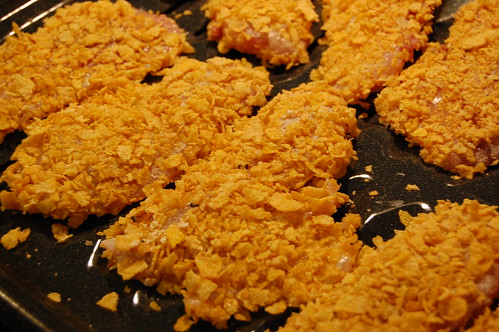
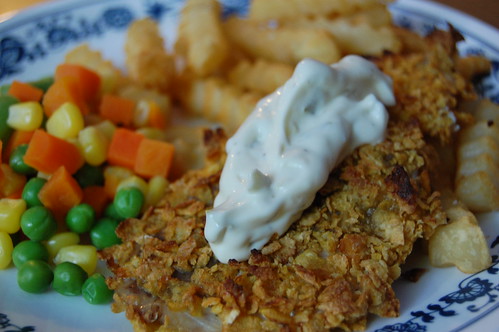
For my first time preparing Porgies, I decided to go super-simple. I just seasoned with salt, pepper, and Mrs. Dash, then coated them with seasoned flour, an egg wash, and crushed corn flakes. Then I baked the filets until they were flaky
I served them with lemon wedges and tarter sauce… nothing fancy!
So, the question is… What do Porgies take like? Well, they are pretty mild, but “fishier” than, say, haddock. Personally, they’re not something I’d go out of my way to get but they were better than I expected. Noah loved them, actually.
I think these Porgies would be yummy deep-fried, and maybe I’ll try that at another point this summer. Have you ever had them? What’s your favorite way to cook porgies? I’m all ears!